
Filter Guides
How to Replace a Whirlpool Refrigerator Water Filter (Filters 1 to 4)
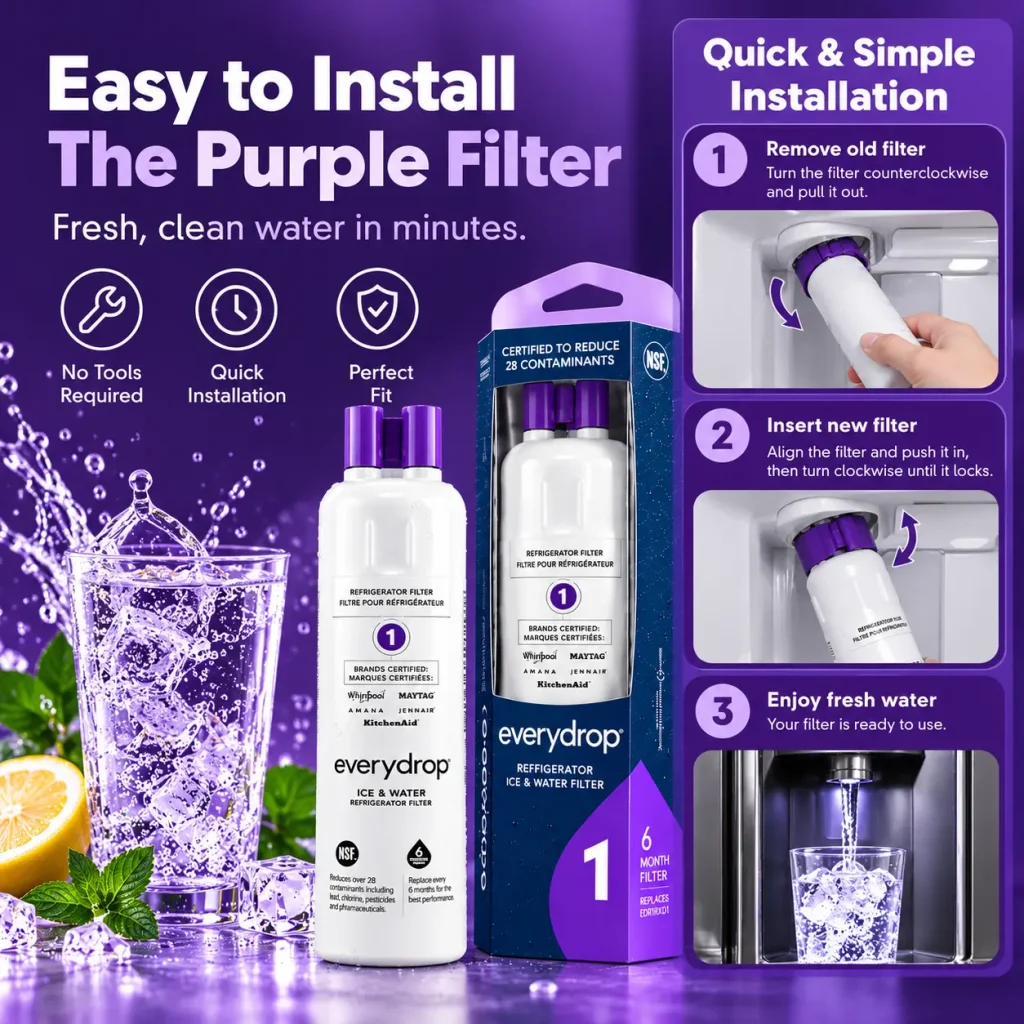
Changing a refrigerator water filter sounds like a job for a repair person. It is not. On Whirlpool, Maytag, KitchenAid, Amana and JennAir refrigerators it takes a few minutes, needs no tools, and you do not have to turn off the water.
The steps are a little different for each everydrop filter, so start by checking which one you have. If you are not sure, read how to find your filter number first.
Before you start
- Have the new filter ready and take it out of its bag.
- Keep a towel nearby. A few drops of water usually come out when the old filter is removed.
- Peel the protective covers off the O-rings on the new filter, and check that the O-rings are sitting in place.
Filter 1 (purple, EDR1RXD1)
Filter 1 is in the upper right corner inside the fresh food section, or behind the base grille on some models.
- Lift or open the filter door and pull the old filter straight out.
- Insert the new filter with the arrow pointing up. Turn it slightly if needed so the notches line up with the grooves. Do not force it.
- Push the filter door closed until it snaps.
Filter 2 (orange, EDR2RXD1)
Filter 2 sits in the upper right corner inside the refrigerator.
- Pull the filter door open. Angle the old filter down, turn it to the left and pull it out.
- Insert the new filter with the arrow pointing up. It rotates as you push it in.
- Turn it clockwise until it locks, then close the door until it snaps.
Filter 3 (aqua, EDR3RXD1)
Filter 3 is on the left side of the base grille at the bottom front of the fridge.
- Press the eject button and pull the old filter out.
- Take the cap off the old filter. Line up the ridges and twist the cap onto the new filter clockwise until it locks.
- Insert the new filter with the arrow pointing left and push until the eject button pops back out.
Filter 4 (green, EDR4RXD1)
Filter 4 is in the upper right corner of the refrigerator.
- Open the filter cover by pressing the tab or small lever.
- Turn the old filter to the left and pull it out.
- Line up the new filter with the grooves, push it in and turn it to the right until it locks. Close the cover until it snaps.
After every filter change
Flush the new filter
Run about four gallons of water through the dispenser. A large pitcher makes this quick. Flushing pushes out trapped air and any loose carbon dust from manufacturing. Use the water for plants instead of pouring it down the drain.
Expect a little sputtering
The first few glasses may spit, sputter or look cloudy. That is air in the line, and it clears as you keep dispensing. If the water still looks cloudy after a few gallons, let a glass sit for a minute. If it clears from the bottom up, it was just air.
Reset the filter light
Most models have a filter reset button or a hold-to-reset option on the control panel. Check your owner’s manual for the exact button. Resetting keeps your six-month reminder accurate.
Troubleshooting
The filter will not go in. Double check the filter number. Filters 1 to 4 do not fit each other’s housings. Also make sure the O-ring covers are removed.
Water is leaking around the filter. Take it out and reinstall it, making sure it is fully locked. A filter that is not turned or pushed all the way in will not seal.
No water comes out at all. The filter may not be fully seated. Reinstall it, then dispense for a minute to push air out.
Ice tastes odd for a day or two. Throw out the first batch or two of ice made after the change so you start fresh.
Need a new filter? Shop everydrop filters with free shipping across the US.